Easy Gluten Free Bread Recipe – Soft & Delicious Homemade Bread
Did you know that many store-bought gluten free loaves contain more than 150 calories and several added stabilizers per slice—yet you can bake a tender, sliceable loaf at home with everyday pantry staples? This easy gluten free bread recipe delivers a soft crumb, golden crust, and comforting homemade flavor without complicated techniques or hard-to-find ingredients.
Whether you need breakfast toast, a reliable sandwich bread, or a warm snack with butter, this recipe is designed to make gluten-free baking feel achievable. The secret is balancing gluten-free flour with yeast, moisture, and a small amount of binder for a loaf that stays fluffy rather than dry or crumbly.
Ingredients
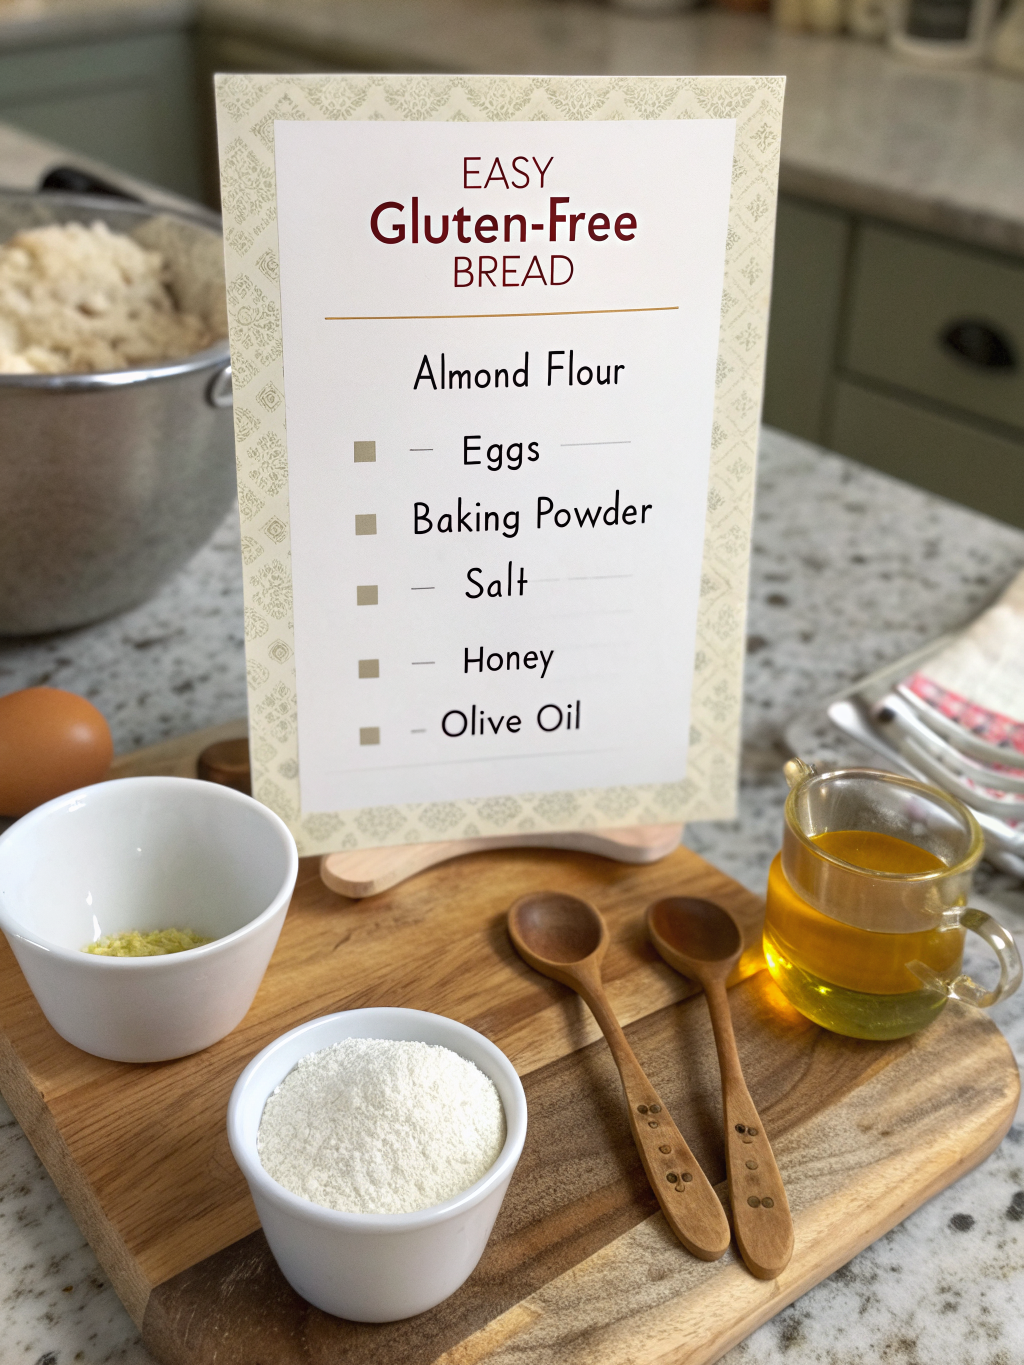
Gather these simple ingredients before you begin. Using room-temperature ingredients helps the yeast activate evenly and creates a lighter loaf.
- 3 cups gluten free all-purpose flour blend, preferably one with xanthan gum
- 2 ¼ teaspoons active dry yeast, or one standard packet
- 2 tablespoons granulated sugar or honey
- 1 teaspoon salt
- 1 teaspoon baking powder
- 1 tablespoon psyllium husk powder, for flexible, less crumbly slices
- 1 ¼ cups warm milk or unsweetened dairy-free milk
- 2 large eggs, at room temperature
- ¼ cup neutral oil, such as avocado, canola, or light olive oil
- 1 teaspoon apple cider vinegar
- Optional: 2 tablespoons sunflower seeds, sesame seeds, or oats certified gluten free for topping
For a dependable gluten free bread recipe , always check labels on flour blends, baking powder, yeast, and toppings. Cross-contact can matter for people with celiac disease.
Timing
- Preparation time: 15 minutes
- Rise time: 45 to 60 minutes
- Bake time: 40 to 45 minutes
- Total time: About 1 hour 40 minutes
That is roughly 20% faster than many traditional Easy gluten free bread recipe that require two separate rises. Because gluten free dough behaves more like thick cake batter than kneadable wheat dough, you only need one rise.
Step 1: Prepare the loaf pan
Grease a 9-by-5-inch loaf pan with oil or line it with parchment paper. Leave a little paper overhang on the long sides so lifting the finished bread out is effortless.
A metal pan produces a slightly crisper crust, while a glass pan may require a few extra minutes of baking. Choose the option that suits your preferred texture.
Step 2: Activate the yeast
In a small bowl, combine warm milk, sugar, and active dry yeast. The liquid should feel warm, not hot—around 105°F to 110°F. Let it sit for 5 to 10 minutes until it looks foamy.
If the mixture does not foam, the yeast may be expired or the milk was too hot. Starting over here is far better than ending up with a dense loaf later.
Step 3: Mix the dry ingredients
In a large bowl, whisk together the gluten-free flour blend, salt, baking powder, and psyllium husk powder. Whisking distributes the binder and leavening evenly, preventing gummy patches in the finished bread.
If your flour blend already contains xanthan gum, do not add extra unless the package specifically recommends it. Too much binder can create a rubbery texture.
Step 4: Create the bread batter
Add the foamy yeast mixture, eggs, oil, and apple cider vinegar to the dry ingredients. Beat with a hand mixer or stand mixer for 2 to 3 minutes. The batter should be thick, smooth, and sticky—closer to muffin batter than dough.
Scrape the mixture into the prepared loaf pan. Smooth the top with a wet spatula, then sprinkle with seeds if desired. A lightly damp utensil stops the dough from clinging and gives your loaf a bakery-style finish.
Step 5: Let it rise once
Cover the pan loosely with a clean kitchen towel or plastic wrap. Place it in a warm, draft-free spot for 45 to 60 minutes, until the dough rises just above the rim of the pan.
Avoid over-proofing. When gluten free dough rises too high, it can collapse during baking. A gentle dome is ideal.
Step 6: Bake until golden
Preheat your oven to 375°F while the dough finishes rising. Bake the loaf for 40 to 45 minutes, until deeply golden and the internal temperature reaches about 205°F.
Cool in the pan for 10 minutes, then transfer to a wire rack. Let the bread cool completely before slicing. This final resting period allows the crumb to set, which means cleaner slices and less crumbling.
Nutritional Information
The following nutrition estimate is based on one loaf cut into 12 slices:
- Calories: 165
- Carbohydrates: 27 grams
- Protein: 3 grams
- Fat: 5 grams
- Fiber: 2 grams
- Sugar: 3 grams
- Sodium: 220 milligrams
Actual values vary by flour blend, milk choice, and toppings. Psyllium husk adds soluble fiber, while eggs contribute protein and structure. For more accurate nutrition tracking, calculate using the exact brands in your kitchen.
Healthier Alternatives for the Recipe
Make this loaf work harder for your dietary goals without sacrificing its soft, satisfying texture.
Replace sugar with maple syrup or coconut sugar for a less refined option. Use unsweetened almond, soy, or oat milk for a dairy-free loaf. For extra fiber, replace ½ cup of the flour blend with certified gluten free oat flour or buckwheat flour.
Need an egg-free variation? Use two “flax eggs” made with 2 tablespoons ground flaxseed and 6 tablespoons water. The bread may be slightly denser, but it will still be flavorful and ideal for toast.
For a savory version, fold in rosemary, garlic powder, shredded dairy-free cheese, or chopped olives. A cinnamon-raisin variation also turns this bread into an easy breakfast treat.
Serving Suggestions
Toast a warm slice and top it with smashed avocado, flaky salt, and chili flakes for a quick lunch. For breakfast, pair it with nut butter, sliced banana, and a drizzle of honey.
This homemade loaf also makes excellent grilled cheese, French toast, turkey sandwiches, or mini crostini for soups and salads. If you are preparing meals for the week, slice the cooled loaf immediately and portion it into freezer bags for easy grab-and-toast convenience.
Common Mistakes to Avoid
The most common easy gluten free bread recipe mistake is treating the batter like wheat dough. Do not knead it; gluten free flour has no gluten network to develop.
Another issue is using cold milk, which slows yeast activity. Warm liquid helps yeast perform consistently. Also, do not slice the bread while hot. Fresh bread smells irresistible, but cutting too early can make the center seem gummy.
Finally, measure flour carefully. Scoop-and-pack measuring can add too much flour and create a dry loaf. For best results, use a kitchen scale or spoon flour into measuring cups and level it gently.
Storing Tips for the Recipe
Store fully cooled bread in an airtight container at room temperature for up to two days. For longer freshness, refrigerate it for up to five days, though refrigeration can firm the crumb slightly.
For the best texture, freeze individual slices in a sealed freezer bag for up to three months. Toast slices directly from frozen—no thawing required. This prevents waste and keeps every serving tasting freshly baked.
Conclusion
This soft, reliable bread proves that gluten free baking does not need to be intimidating. With one rise, simple ingredients, and a few texture-boosting techniques, you can make a golden loaf that works for toast, sandwiches, and snacking.
Try this recipe, then customize it with your favorite seeds, herbs, or sweet additions. Share your results in the comments and explore more gluten free meal ideas for easy, delicious cooking inspiration.
FAQs
Can I use a different gluten free flour blend?
Yes, but results can vary. Choose a blend formulated for baking and check whether it includes xanthan gum. Blends with rice flour, tapioca starch, and potato starch usually create the lightest loaf.
Why is my easy gluten free bread recipe gummy?
Gumminess usually comes from underbaking, slicing while warm, or using too much binder. Check the internal temperature and allow the loaf to cool completely before cutting.
Can I make this recipe dairy-free?
Absolutely. Replace dairy milk with unsweetened almond, soy, or oat milk. Use a neutral oil instead of butter, and the recipe remains dairy-free.
Can I bake this in a bread machine?
Yes, if your machine has a gluten-free setting. Add wet ingredients first, followed by dry ingredients and yeast according to your bread machine manufacturer’s instructions.
Is this bread suitable for sandwiches?
Yes. Once fully cooled, the loaf slices cleanly and holds fillings well. For sturdier sandwiches, lightly toast the slices before adding moist ingredients.